Free image upscaler how to use Facelift in Stable Diffusion
Improve image quality by upscaling
Our software offers a variety of ways to bump the quality beyond Stable Diffusion’s default 512×512, like Adetailer, HighDef, and Facelift Upscaler 2X and 4X with specialized photo and anime models.
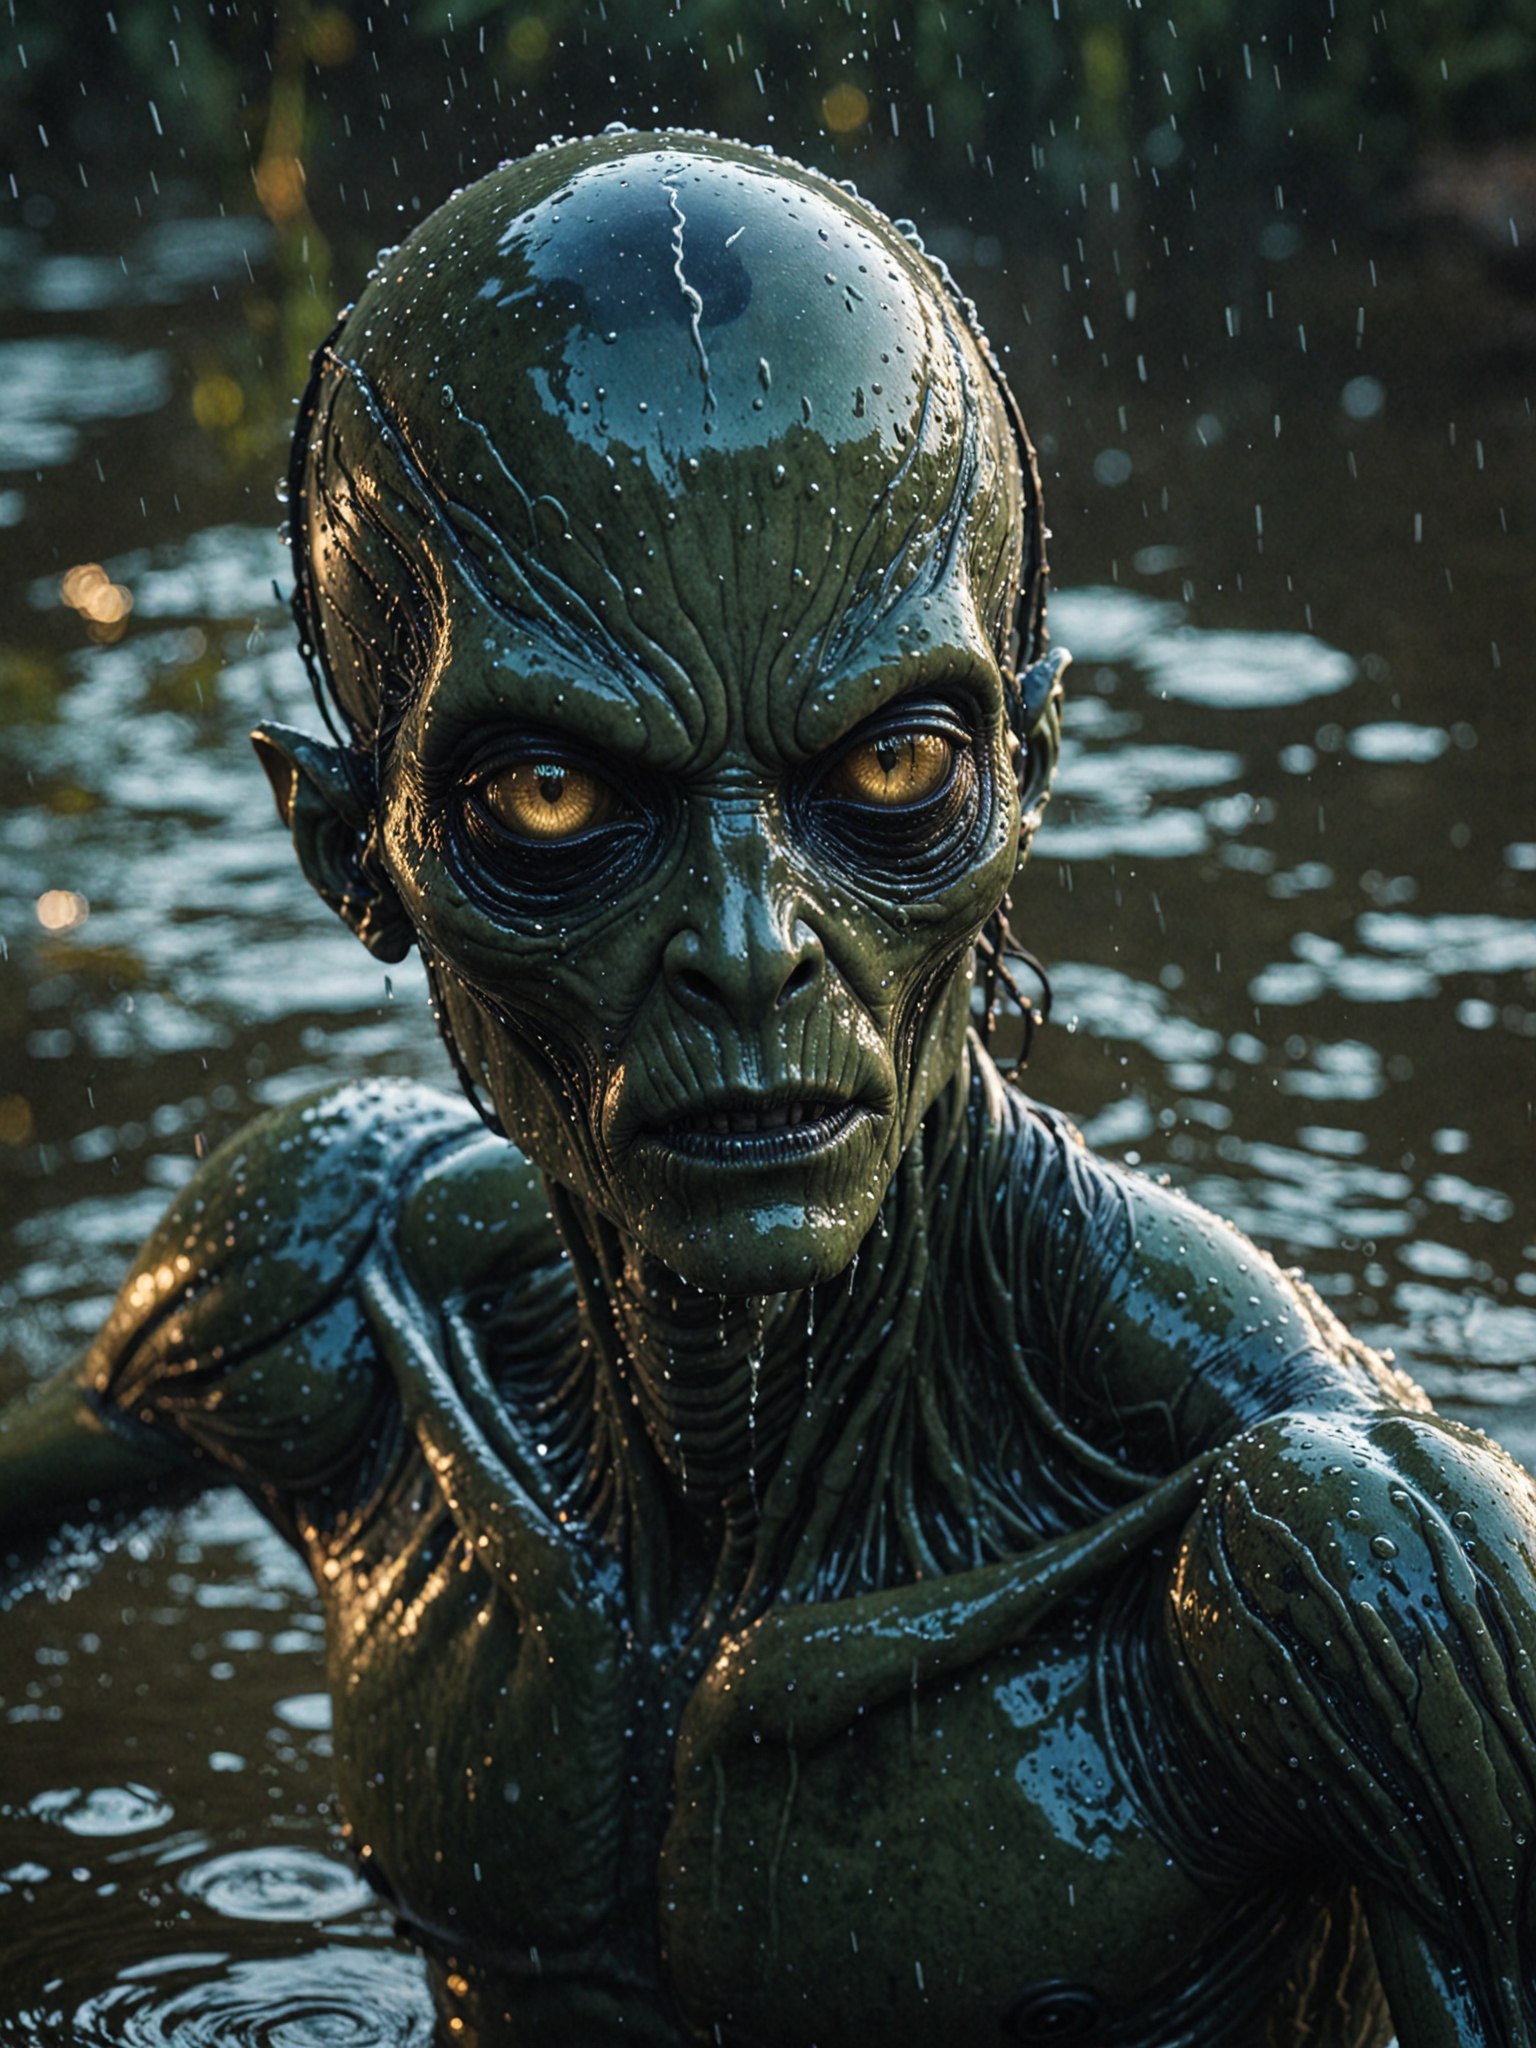
If you’re going for a digital style, it’s easy to achieve. Realism is a little tricker. Compare:

The upscale fidelity makes all the difference between digital art and a believable photo!

Quick upscale: Use /highDef
To use highdef, the input must be rendered at the standard 512×512. To boost up to 1024×1024 and see two variations of the effect, we then simply reply to an image with /highdef

This can only be done once, and it will return two variations of the same image. It doesn’t work with 768×768 images, which are already upsampled.
Use the /more command to double your pixels
Reply to the image as if you’re going to talk to it, and add a command like this:
/more /size:1300×1300 /images:2
This feature is often misunderstood, so we recorded a whole one hour video on how to use it.
Upscaling with /remix
You can also use older Stable Diffusion 1.5 models and finish in SDXL for higher resolutions. This is a popular technique because SD15 has a lot more content and variety, as the community has created a treasure chest of content for it. We’ll start in low resolution SD15 and finish in XL in this lesson.
Step 1: Create a nice composition
You can work in 512×512 or 768×768, or a similar portrait or landscape aspect ratio.
In this example we’ll use the lowest recommended setting to show you the power of what’s possible:
/render  Young woman, blonde, influencer, 20 yo, smiling, fit, athletic, sitting inside a modern van life van

/size:512x512
/steps:20
/lpw
/seed:744448
/sampler:upms
/guidance:6.0
/images:6
[[<neg-async10:-1> <easy-negative:-1><bad-hands-v5:-2><bad-prompt:-1><unspeakable-horrors:-1>]]
<last-unicorn>

These are nice typical Instagrammer style images, but they’re not going to fool anyone. Why? Because they’re low resolution, 512×512. She looks a bit simplified and cartoony, still a bit too stylized to be real.
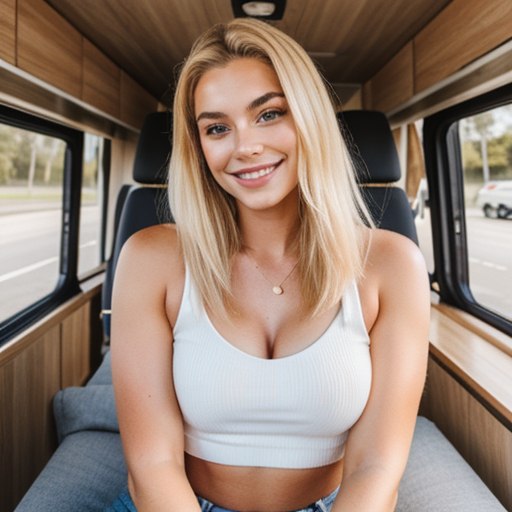
The AI model <last-unicorn> creates great characters and compositions, but it’s an older Stable Diffusion model. We can’t render this image straight into double the resolution on a Stable Diffusion 1.5 model like <last-unicorn> because that AI model was trained on 512×512 images. If we double that on the first render, we will get two people or double heads, major deformities. But the good news is that we can upscale the results in steps.
Tip: You could also add the /adetailer command during the first step. After Detailer is great when working with older SD15 models. It’s great when the subject’s faces or background faces are out of focus or not detailed enough, or the hands need a quick fix. Note that it does not work on 30 degree angle faces.
Step 2: Remix to a higher fidelity model
You can use any low res model in our system and finish on a newer, higher resolution one. Next, right click on the image, and let’s take this composition into SDXL, a model that is trained on 1024×1024 images.
/remix /size:1024x1024 /strength:0.5 /sampler:upms /guidance:2.0 /images:6 [[<fastnegative-xl:-2>]] /steps:25 /nofix ((high quality, masterpiece,masterwork)) [[low resolution, worst quality, blurry, mediocre, bad art, deformed, disfigured, elongated, disproportionate, anatomically incorrect, abstract, muscles, 6 pack, muscular, defined muscles ]] <realvis4light-xl> (((8k,high resolution photo, high definition, raw photography))) Young woman, blonde, influencer, 20 yo, smiling, fit, athletic, sitting inside a modern van life van
These commands are covered in other tutorials, so we won’t spend much time on them here, but what we’re doing is sending an image-to-image command. We are taking the finished photo and “remixing it” into the style of a newer model that can handle higher resolutions better, in this case <realvis4light-xl> which is a realism lightning model. Any model will work, like <juggernaut9-xl> etc. Optionally, you can add /seed:744448 at the end, if you want to get back the exact same tutorial picture.

The detail is night and day from 512 to 1024, compare:

Step 3: Go up a few more pixels
This is similar to how /highdef works but we are taking control of all of the parameters. Reduce the number of images as you go higher in resolution, as PirateDiffusion is designed to “finish” under one minute per render.
Notice the Strength parameter. This determines how different the new image should be from the original. A little change is 0.2 and when you get close to 1 it is like starting from scratch, so maybe near 0.4 is the sweet spot. Experiment:
/more /size:1216x1216 /strength:0.5 /sampler:upms /guidance:2.0 [<fastnegative-xl:-2.0>], <realvis4light-xl:1.0> /steps:25 /nofix /images:2
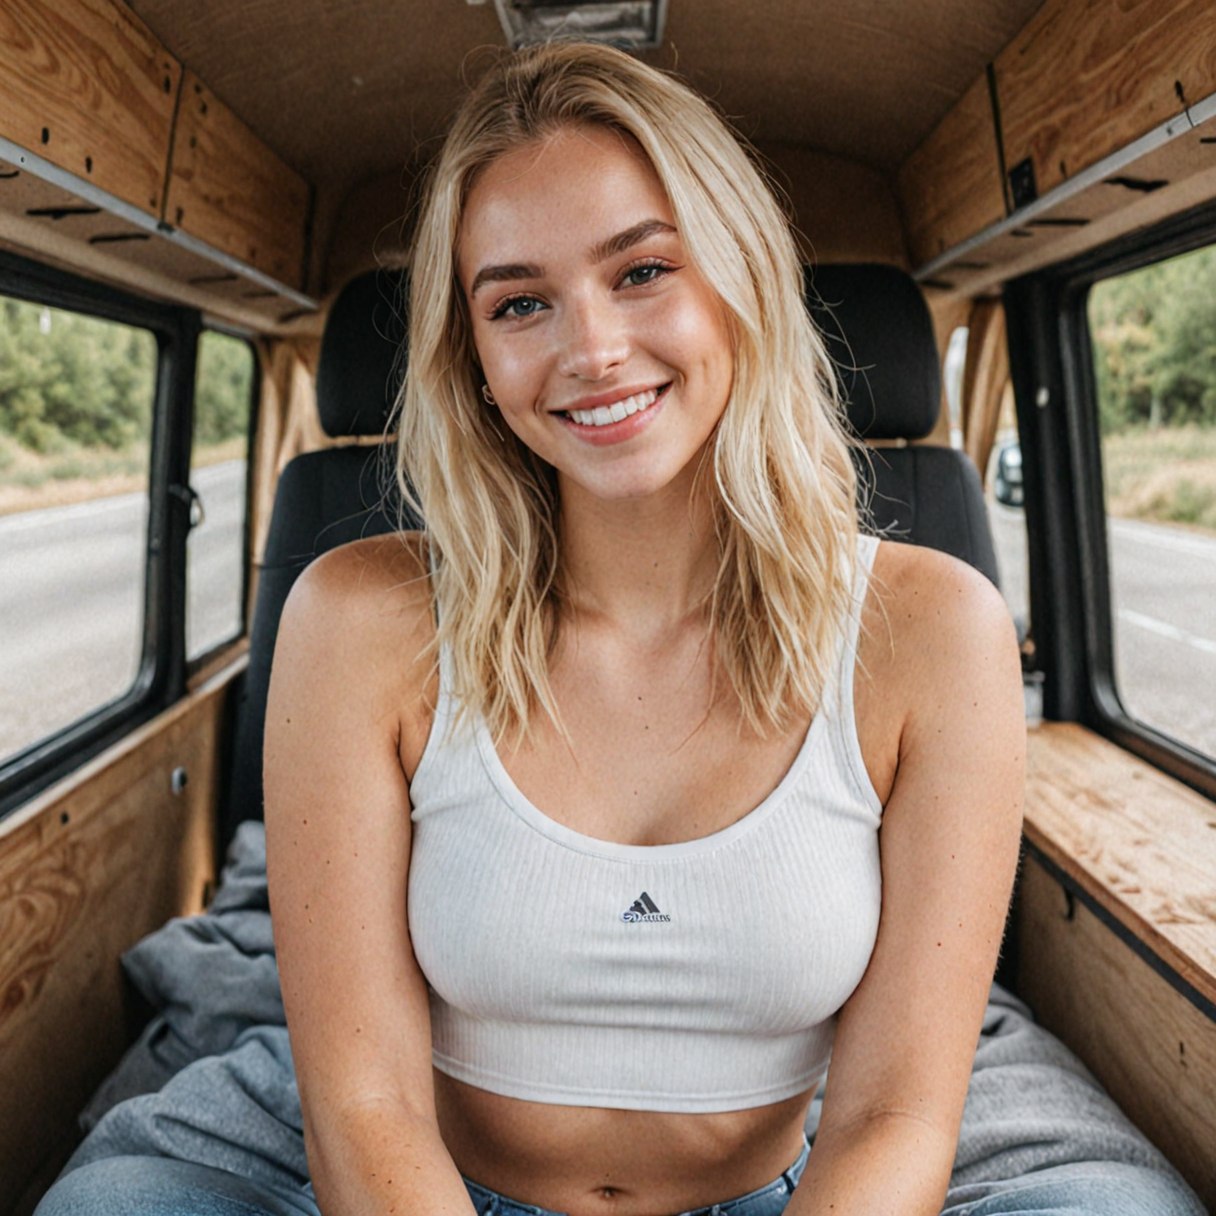
To fix other details like the shape of the eyeball, add loras and adjust your negatives. Sometimes re-running the same /more command will autocorrect the image in another batch, as a lucky turn.
Take the quality even further with Facelift
To use it, simply reply to an image with /facelift and you’re done. You can only upscale one image at a time, but the usage isn’t metered or limited in any way. You have unlimited facelifts, feel free to upscale everything all day long.

The /facelift command fixes faces (glitches, imperfections, rough and oily skin) as well as upscales your picture. Sometimes you don’t want faces retouched, so there are two other modes:
/facelift /anime — for any kind of illustrated works, pass the /anime secondary command. It works great on drawings, paintings, CGI, including semi-realistic CGI.
/facelift /photo — when you want upscaling but not face retouching, such as landscape photo, or when you do not want your character to have that “airbrushed” look
FACELIFT STRENGTH
Control the amount of facelifting by adding the strength parameter. The strength is set to 1 by default.
/facelift /strength:0.5
Intentional loss of detail
Just like turning on “beauty face” on your smart phone camera, facelift uses similar technologies to smooth fine details. This can sometimes result in overly smooth faces or loss of some unique facial details, like freckles or birthmarks. You can offset this by targeting an ideal render from the start (see first paragraph).
But more than often, the results are really impressive.
Typical render using negative inversions in one step
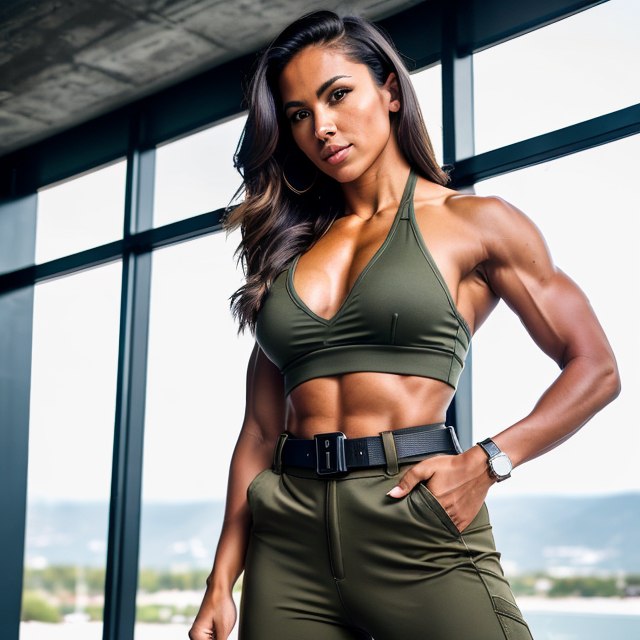
Try replying to this image with /facelift /photo /size:2000×2000
Facelift limitations
When upscaling in one step with retouch turned on, it may look a bit like a video game render.
Take your time and check the “pro” method above using 3 steps, or we will get a high resolution image with an unrealistic amount of facial details, shadows, or face oils
This is an OK upscale, but going up in size in too few steps will result in a loss of fidelity sometimes.

Compare that to this other green suit babe in the image below. No, that’s not Midjourney, that’s still PirateDiffusion. You can use the /showprompt history command on the image below to see how it was made.
Take your time and upscale slowly. The photo above is the same size but you can count the water drops in this one! It’s on a whole other level of clarity and detail. You can do this, too with the lessons on this page.
